Pages

Tuesday, June 28, 2011

Who Needs Cream and Cheese

For broccoli cheddar soup. Those two ingredients are over rated anyway, and you can make  just as a delicious soup without them. I make a broccoli soup like this that does have some milk in it to make a creamier soup, but I wanted to make this recipe a vegan soup. You can use a milk substitute, but I did not because I wanted to see how it would be if I just blended the soup to make it creamy, but adding in a roux to help with that. And alas it worked. Ok so for the "cheese" I added nutritional yeast to give it that cheesy flavor, and if you have never used it before this is what it is: a deactivated yeast and a good source of protein and B Vitamins. It really does have a nutty, cheesy taste, I really like it. As for the broccoli part of this and any soup I like to use the stems of the broccoli. This is a good way to not waste the stems.  You just have to remove the tough "skin" of the stem and just use the inner part. So here is the recipe: (yet again a single serving)

Broccoli Cheezy Soup

4 broccoli stems, chopped
1/2 cup vegetable broth or water
1/2 teaspoon walnut oil or oil of choice
1 teaspoon flour (whole wheat white flour)
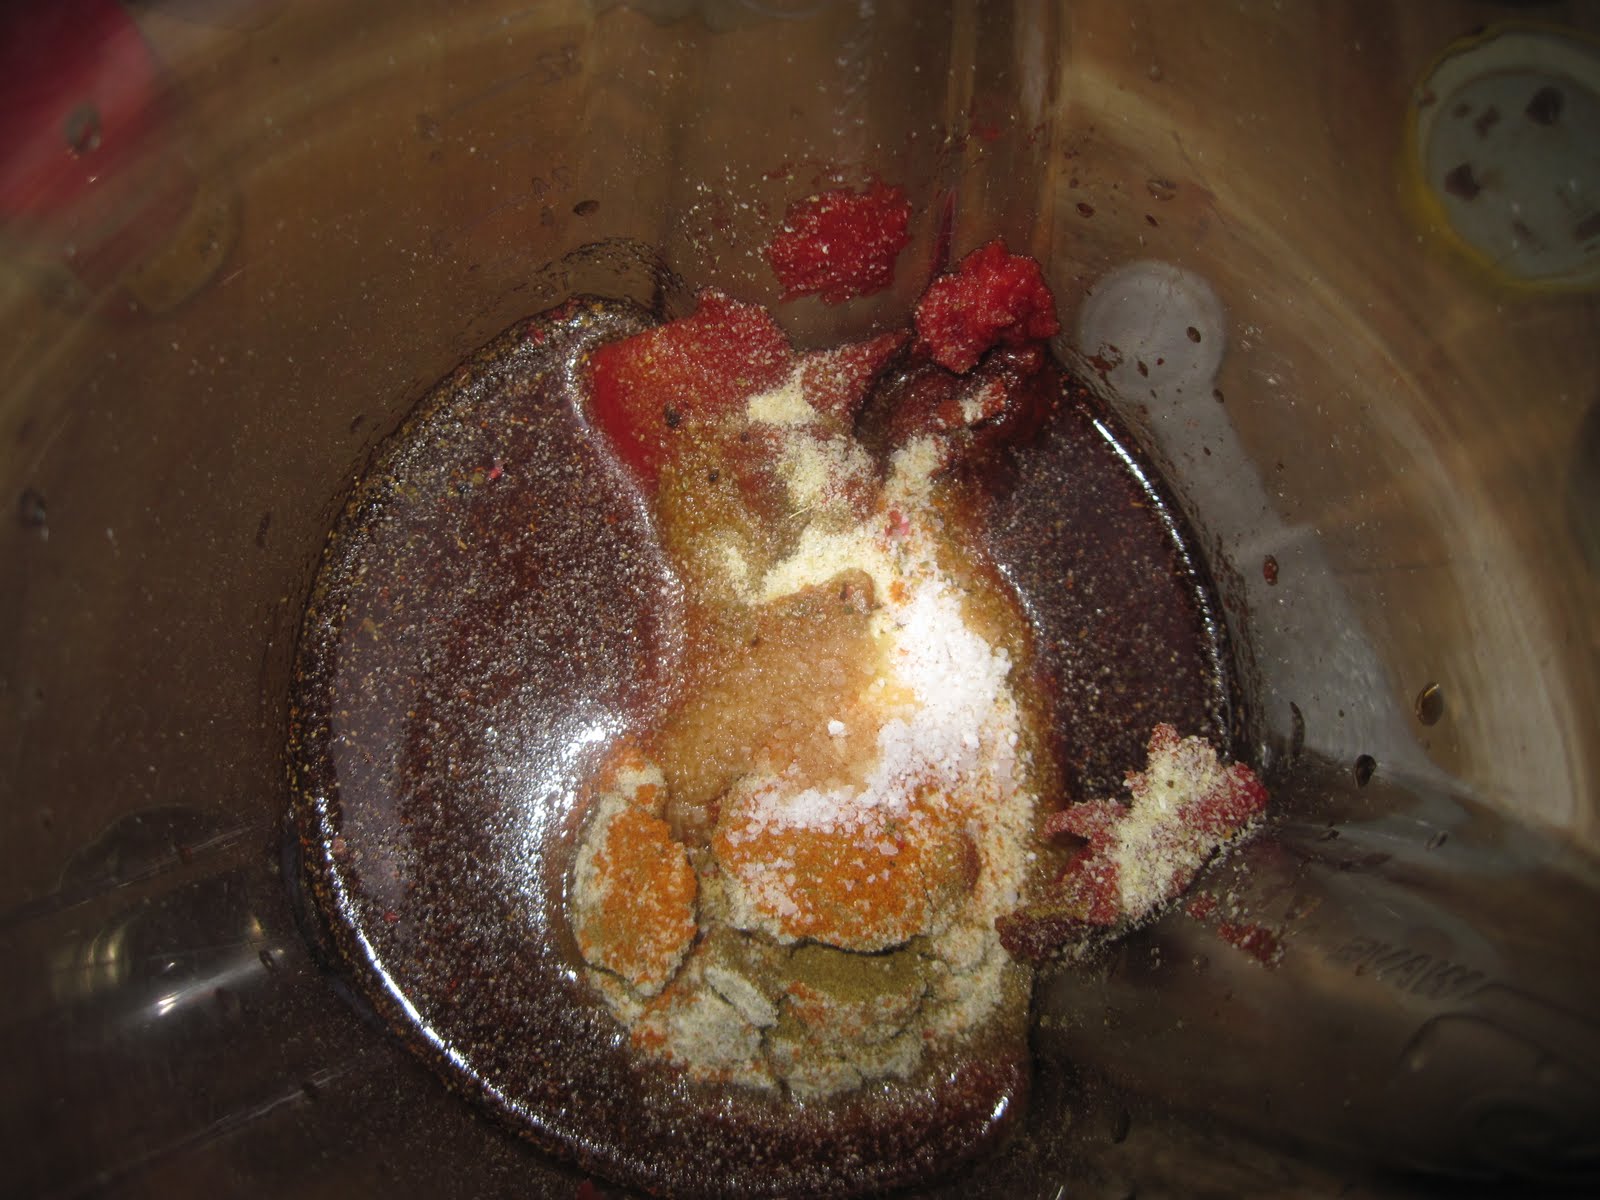
1/2 teaspoon onion powder
1/4 teaspoon black pepper
1/4 teaspoon salt
1/4 teaspoon coriander
1 1/2 teaspoon nutritional yeast
1/4 teaspoon nutmeg
1 cup water

In a pot, boil the stems in the broth or water until they are tender.

In another pot, heat the oil. Add the flour and cook for a 2 minutes.

Add in the spices.

Then slowly whisk in the water a little at a time, only a 1/2 cup max.

Mix the roux with the broccoli and broth.

Blend the stems and the roux together. I used a bur mixer (hand blender) but you can do this in the blender, adding the rest of the 1/2 cup of water as needed. Reheat and eat. Easy as that!


I also told you a while ago that I was recipe testing a few recipes that didn't turn out that great during their first attempt. I went back to the drawing board with my mini banana bites. And this time they came out great. I knew what the problem was after eating the first attempt, they needed more banana. They lacked that banana goodness flavor. So that was an easy fix. And you know how I am when I make something, I like to play around with the base recipe (like when I tested the cupcakes). That is exactly what I did with this recipe, and this is what I came up with: cinnamon raisin peanut butter bites, banana strawprise bites, double chocolate chip bites, and chocolate chip walnut bites. You may be wondering what a stawprise bite is, well a muffin that has a jam filled center. So good when you heat it up and the jam gets melted.

Mini Banana Bites 4 Ways

3 bananas, mashed
1/6 cup of canola oil (less then a 1/4 cup to make it half a 1/3 cup)
1/2 teaspoon vanilla
1 tablespoon maple syrup
1 cup whole wheat white flour
1/4 teaspoon baking soda
1 teaspoon baking powder
1/4 teaspoon salt
1/4 cup water
1 tablespoon strawberry jam
1 teaspoon cinnamon
1/4 cup raisins
1/4 cup peanut butter chips
1/2 cup chocolate chips
1/4 cup walnut pieces
1 tablespoon cocoa powder
1 tablespoon water
1 tablespoon flour

Preheat oven to 350 degrees. Grease a mini muffing pan.

Mix the bananas, oil, vanilla, and maple syrup.

Combine the flour, baking powder, baking soda, and salt.

Slowly add in the water. You can stop here and make just banana bites.

Strawprise:

Place a teaspoon of the batter in the pan. Top with a little of the jam, then top with another teaspoon of the batter.

Cinnamon Raisin Peanut butter:

Place 1/2 a cup of the above batter with the cinnamon, raisins, and the peanut butter chips.

Double Chocolate Chip:

Mix the 1 tablespoon of cocoa powder with the 1 tablespoon of water and 1 tablespoon of flour. Add in 2 tablespoons of chocolate chips. Mix in 2 tablespoons of the batter.

Chocolate Chip Walnut:

Add the rest of the chocolate chips and walnuts with the remaining batter.

Add tablespoon fulls of the batter to the mini muffin cups. Bake for 30 minutes, turning half way through baking.

They came out much better than the first attempt. And I really love coming up with different ways to change a base batter to make variations all at one time.

Upcoming recipes: bbq pizza and sangria! (For the 4th of July bbq I am having.)

Thursday, June 23, 2011

Quick Recipes

Hello! Sorry I haven't posted in awhile, but I do have a few quick recipes for you all today. And I have a broccoli soup recipe coming up soon.

At work we once had a ton of extra chick peas and did not know what to do with them or how to incorporate them into the meal. So we roasted them with smoked paprika powder and boy we have been making them ever since. I wanted to make some for myself at home, cause the head chef doesn't roast them long enough, he leaves them to soft and not roasted long enough. I like to make them crispy (I do enjoy everything crispy and crunchy). Sort of like the ones you can buy in the store, those wasabi chick peas (ooo a new idea to try and make!). And these are a great snack, good source of protein, and can be added to just about anything. Oh and they smell like bacon when they roast! Funny story. I was making these one morning and my younger brother came down stairs and asked, "Are you cooking bacon?" "Haha, kind of. They are chick peas."

Smoked Paprika Chick Peas

1 can garbanzo beans/chick peas, drained and rinsed
1/4 teaspoon salt
1/4 teaspoon black pepper
1 teaspoon smoked paprika powder
1/2 teaspoon paprika
2 teaspoons olive oil


Preheat oven to 400 degrees.

Pat the beans dry, remove the skins of the beans. (This does not need to be done, but I like to because they roast better, I think.) Mix all of the ingredients together,

place on a sheet pan and roast for 30 to 45 minutes. Shake them a few times while they cook, this prevents stickage.


Add them to anything, like I previously stated. Salads, tacos, stews, a snack, you think it add it to it! So far this is how I have enjoyed them: in a tex-mex stir fry with peppers, spinach, tomatoes, and black olives (not pictured); a salad that contained salsa as the dressing, tomatoes, black olives, roasted peppers, and I think I added some cheese (below); and lastly I had another salad with roasted corn, peppers, salsa, tomatoes, black olives, and avocado (top of the recipe).

For the second quick recipes I have some candy for you. I wanted to make those "jelly" filled candy that you get in a box of chocolates. I wanted to make them quickly so I came up with this idea: adding xanthum gum to make the "jelly". The process I have seen done before goes like this: coat the bottom of a mini cupcake liner with chocolate, freeze it, added the filling, top with more chocolate and let them harden. It did work. For the filling I thought about what to use. Jam! With xanthum gum to thicken it up so it wouldn't be to watery. That worked also. Amazing what xanthum gum can do. If you feel uncomfortable using it, please don't. You probably eat it all the time without even knowing it. Manufactures use it in everything from dressing to ice cream to cookies and bread. Yup everything. And it is just from seaweed, so it is perfectly safe to consume. So here you go:

Chocolate Candy Cups

1/4 cup grain sweetened chocolate chips (or your favorite)*
1/4 cup carob chips*
6 tablespoons of jam (any flavor you like)
1/2 teaspoon xanthum gum
8 mini cupcake liners

*note you can use all chocolate if you like, I just enjoy that combination

Melt the chocolate and carob chips over a double boiler. Once melted, add about two teaspoons of chocolate to the liners.

Tilt the liners in the air so the chocolate moves up the sides of the liner. This helps the chocolate cup have sides.

Once they are all chocolate coated, place in the freezer for about 10 minutes, so the chocolate hardens.

While they are in the freezer, mix your jam of choice with the xanthum gum. It is going to get a little stringy/gummy looking, but that is how it works.

Once the chocolate is ready, add some of the filling to each cup. Top with more chocolate. There may be extra chocolate left over, use it up! Add raisins, coconut, anything tastes good coated in chocolate. Allow them to harden either in the freezer or the fridge for at least 30 minutes, longer is better. Remove the paper lining, and there you go.

The jams that I choose to use were raspberry and strawberry. I did try apricot, it was ok, and I mixed apricot jam, strawberry jam, and almond extract to make a spoof of the Italian 7 layer cookies. You can use the same method to make peanut butter or even better almond butter cups, just do not add xanthum gum to the nut butters. (Believe me, do not add it. They come out gross and coat your mouth all funny with this slimy feeling, totally gross.) But do try chocolate and almond butter, such a delicious combination!

Up coming a broccoli soup recipe!

Sunday, June 12, 2011

Salads Need Dressing

And I wanted a salad and had no dressing on hand. When I was at work one day, I was looking through a raw diet cookbook (which gave me a ton of ideas and made me really want a dehydrator) and found some interesting recipes. One happened to be a dressing recipe that was so simple and easy to make I was like "heck yea I can make that in a gif!"

So it came time to eat my salad and no dressing issue. I had all the ingredients that the recipe called for: mango, fresh ginger, and water (even though the recipe called for filtered water or coconut water, I used my own version of filtered water, water that was left over in my tea pot after my morning tea. So I got to work on making my own dressing! (And this is only my second dressing I've made, the first was made at work and was a honey mustard dressing that came out really good but no one wanted to choose it over a remesco sauce!) I don't know if you have ever tried coconut water but it is not one of my favorite things in the world. It has a very subtle coconut taste that just doesn't do anything for me. Don't get me wrong, it is really good for you, rehydrating properties and all and it can be refreshing, but just that weak coconut flavor is hard for me to get over, but I will keep trying it to see if eventually I like it. Anyways, enough about coconut water, and back to the dressing.

Mango Ginger Dressing

1 large mango, diced
1 inch nub of fresh ginger, peeled and minced
1/2 cup water
1 teaspoon agave nectar
1/4 teaspoon salt
1/4 teaspoon cracked black pepper
pinch of cayenne pepper
1/4 teaspoon xanathum gum (optional)

Place everything but the water in a blender. Add only a 1/4 cup of water to the blender and puree everything. If the mixture is not moving add more water, slowly. Only use as much water as you need. (You can now blend in the xanathum gum if using, this will just make the dressing thicker and hold together better. I did not use it.) This keeps in the fridge for a week, if it lasts that long.

Easy right! And it taste really good, with a slight spicy kick from the fresh ginger. If your mango is really ripe you may want to hold off adding in the agave nectar, so that you don't make the dressing too sweet. Taste it before and fix it according to your taste buds. You may even need to add more agave nectar if the ginger is too strong for you. Eat it on any type of salad you like! It taste equally as good in a salad or just dipping fresh veggies in.

I tried a new take on peanut butter cookies. You know my quest to making the best vegan ones around, well here is another attempt. Peanut Butter and Jelly cookies. I used the peanut butter bar recipe, but tweaked it slightly (http://debbyeats.blogspot.com/2011/02/happy-valentines-day.html). I didn't add in the milk, added in 1/2 a cup more of flour, and peanut butter chips. Then spooned them into a mini muffin pan along with jelly in the center. Some had grape jelly and others had strawberry jam. My favorite are the ones with the grape jelly. I guess I am more of a grape girl, hum. So, next??...

Tuesday, June 7, 2011

Pan De Cinco Granos

AKA 5 grain bread, I just thought it sounded cooler saying it in spanish, even though the bread is not spanish in any way shape or form. I wanted to redeem myself from my last attempt at making bread, so i gave it another go around. This time though I did not have any rye flour, so I improvised with my large pantry full of various flours- spelt, brown rice, oats, whole wheat, and tried to make quinoa flour, but that didn't work out to hot. But I still used it anyway.

I used to same method to make this bread as the rye bread recipe. I added hot boiling water to the quinoa to par cook it so it wouldn't be too hard to eat.


5 grain bread

1 cup oat flour (I made this myself by grinding it in the food processor)
1/2 cup quinoa "flour" (it is in quotes because I tried to grind it in the food processor but it didn't grind fully, but the texture ended up being great. You can always use real quinoa flour or flakes)
1/2 cup brown rice flour
1/2 cup spelt flour
1 cup whole wheat flour
1 1/2 cups bread flour
1/4 cup molasses
2 tablespoons vegan "butter" (smart balance)
2 tablespoons onion powder/ granulated onion
2 tablespoons caraway seeds
1 package active dry yeast
1 cup warm water
1/4 cup hot water (boiling hot)

Combine the yeast and the 1 cup warm water.

Mix the hot water with the quinoa, onion, molasses, and the smart balance and then allow it to cool down a bit. 

Add in the oat, brown, and spelt flours along with the yeast/water mixture. Add in the bread flour. Then combine in the whole wheat flour until the dough comes together enough to start to knead it. 

Pour out onto a floured board and knead for about 10 minutes until it becomes a smooth dough. 

Place in an oiled bowl, cover with plastic wrap or a damp cloth,and let it rise for 1 hour.

Punch down dough and cut into rolls or you can make one loaf. 

To make rolls, cut the dough (using a dough cutter) into 12 equal portions and either make round rolls (I flattened them out a bit) or long rolls. Brush the tops with a little bit of oil, place plastic wrap on top, and let it rise for about 30 minutes. 

Preheat oven to 375 degrees and bake 30 to 35 minutes or until golden brown and the bottoms sound hollow when tapped. Place on a cooling rack to let cool, enjoy!

(This is the inside of the roll, look at how rich[in grains] the roll is.)
The bread came out way better than my other loaf. And tasted just as good, even as a pb and j sang!
(Those are apples, some with cinnamon sprinkled on top.)

I'm still working on a few different recipes for my next posts...so until then...

Wednesday, June 1, 2011

Summer Time = BBQ

And Barbecue Sauce!

What to do with extra bbq sauce? That is the question. On Memorial Day I made a batch of vegan barbecue sauce to go with my portabella mushrooms, corn on the cob, and cucumbers. It was really good, something I was not anticipating. I have made bbq sauce before, but this was just for me because it didn't have refined sugars or other processed type items. (I'm talking about ketchup or mustard.) This was a recipe I had found on an agave nectar brands website that sounded good to me and it is incredibly easy to make. Here it is:

My BBQ Sauce

1 8oz can of tomato paste
1/4 cup water
1/4 cup apple cider vinegar
1/8 cup molasses
1/8 cup agave nectar
1/8 cup tamari
1 1/2 teaspoons garlic powder (or one clove minced garlic)
1 teaspoon onion powder
1 1/2 teaspoon paprika
1/2 teaspoon cumin
1/2 teaspoon ground mustard
12 teaspoon coriander
1/4 teaspoon cayenne pepper
1/2 teaspoon salt
1/4 teaspoon black pepper
1/4 teaspoon oregano
1/4 teaspoon smoked sweet paprika

Place everything in the blender and blend it all together, if it is too thick add a few splashes of water until it becomes the viscosity you want


So what to do with all this extra sauce? Well before I became a vegetarian I use to make this salad with bbq chicken, lettuce, apples, carrots, and cucumbers with a dressing of more bbq sauce. So I thought to myself, self why not make a salad kind of like that. And that is exactly what I did. This time I used chick peas instead of chicken and added some corn that I sliced off the cob. 

Another future use of the bbq sauce shall be pizza! Barbecue pizza that is, grilled crust,  grilled toppings, oh so good! But until I get around to that...

I had typed up two other posts but didn't post them because the recipes they contained did not turn out blog worthy, I will tweak the recipes and post them at a later date. 

Also, this breakfast I made on Monday looked great so I wanted to share it with all of you.

I love fresh fruit like you can't even imagine! Fresh cherries are so good! My next plan with those cherries is a dessert fruit salad. I want cherries and chocolate! Yup until next time... (and I'll get working on those unposted recipes so they can be shared!)